Have you ever wanted to capture something on your computer screen, but didn’t know how to do it? Depending on your hardware, you may be able to use the Windows Key + PrtScn button. This will capture your entire screen, but what if you only need to capture a precise portion of your screen? All you need is the snipping tool, and if you're a Windows user, you should already have this great utility built into your computer.
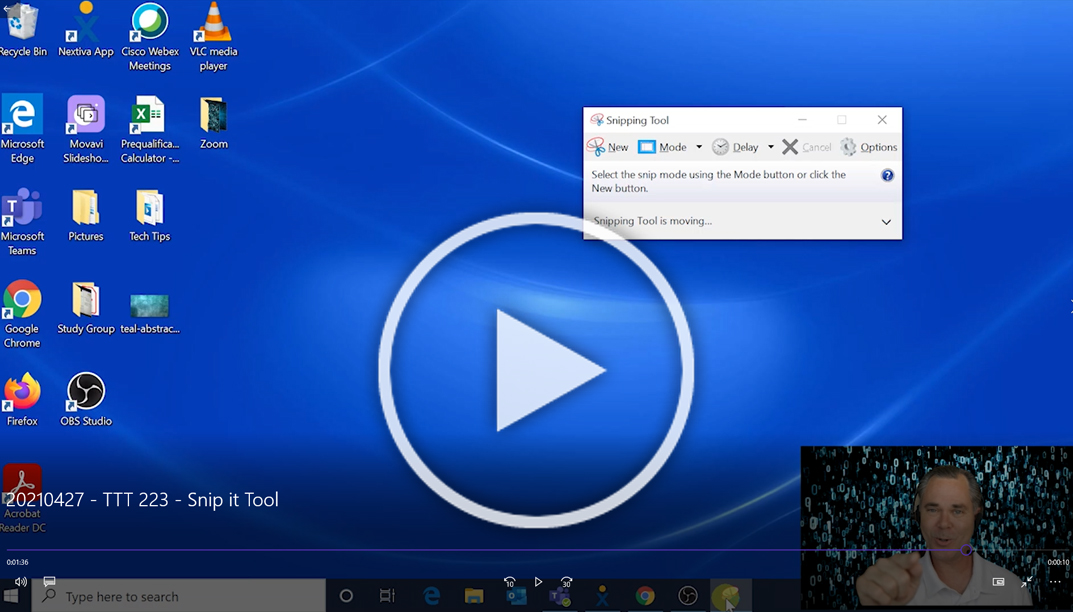
Watch my short video below to see how easy it is to capture anything that comes up on your computer screen and then save it, crop it, draw on it or even share it.
For a Windows utility that’s been around for 17 years, lots of people still don’t know it exists. This simple, easy to use, screenshot utility can capture an entire window, a rectangular part of your screen, or use the freeform tool to draw around things and capture just that uniquely shaped part of the screen. From there, sharing it is easy too. You can copy and paste it into a document or email, or just email it to someone directly from the Snipping Tool.
Here's a step-by-step guide to the Windows Snipping Tool:
Step 1: Locate your Snipping Tool - Computers using Windows should have this tool pre-downloaded. You can check by typing the keywords "Snipping Tool" into your search box.
Step 2:Capture Anything on Your Screen - Within the Snipping Tool, press 'NEW' and you will find that your computer screen will freeze and the white will go slightly grey. Next, drag your arrow from where you want the picture to start to where you want it to end. Once you are happy with the picture, let go of your mouse. It should appear on a new tab.
You can also choose whether you wish it to be a free-form snipping tool (to go around odd shapes), a simple, rectangular box, a window snip, or a full-screen snipping.
Use the cross to border your caption when screenshotting. That way, it will be perfectly in line.
A timer can also be set by clicking delay and then choosing how many seconds (1-5) you want to wait until it takes the snip. This works for window and full-screen snips.
Step 3: Copy and Paste - Once you have your screenshot, simply press the icon on the app that appears to be two pages with lines on them. Also, look for a fold at the top corner.
To paste it, access Word for an example. Click on the clipboard; your object should then appear.
Step 4: Save Your Screenshot - When your screenshot is up, click on the purple file icon. It come up with a new tab; from there, you should be able to select where you save the picture to.
Step 5: Draw on the Caption (optional) - Click on the pen or highlighter icon and draw whatever you wish. You can also erase by clicking on the pink rubber icon and then click on your drawing and it should delete. If it does not delete, start over; press new and capture your picture again.
Step 6: Pin This Great Tool To Your Taskbar - To make it even easier for next time, you can right click on the snipping tool icon and pin it to your task bar, this way it will always be accessible.
Now you are a snipping tool expert and you can do your best Joey Gladstone impression and “cut-it-out.” Like you, we know technology can be frustrating. If you want a managed service provider to take care of your IT, so you can take care of your business, call CTTS today: (512) 388-5559.
By Kyle Barker
Business Consultant
Central Texas Technology Solutions