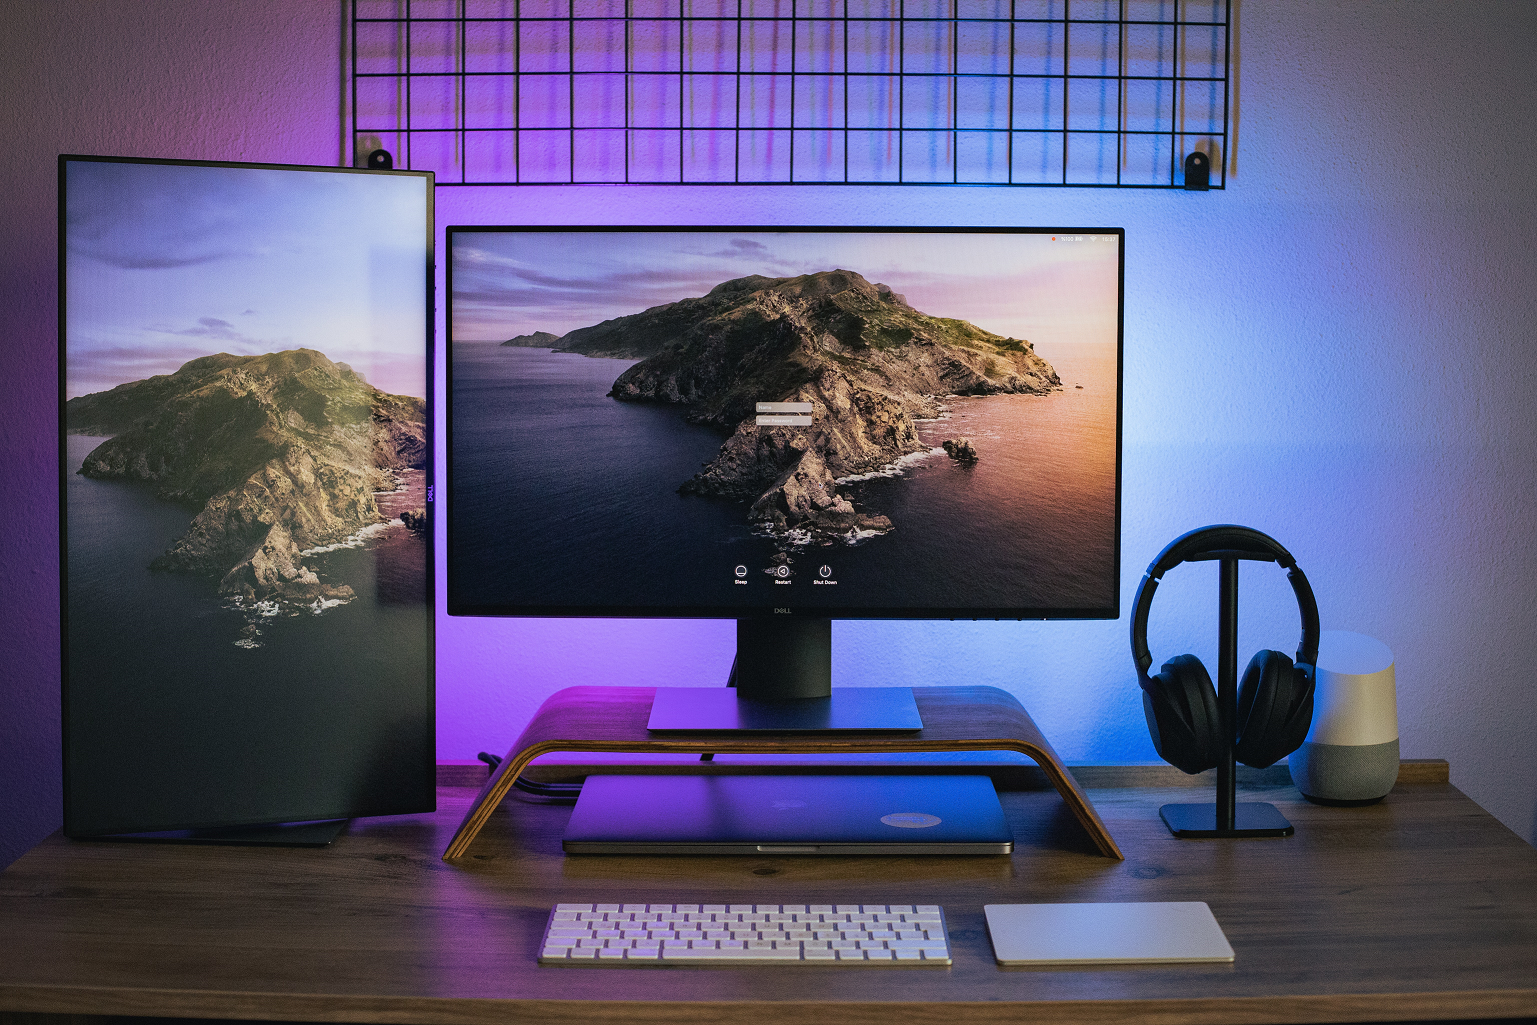
Do you struggle when setting up multiple monitors on your computer or laptop? Windows 10 allows you to control the settings for each display, making it incredibly easy for you to get the displays set up the way you want them.
Before you get started, be sure all of your cables are correctly connected to your PC or docking station. Additionally, check if you have the latest Windows update by going to Start > Settings > Updates & Security > Windows Update > Check for updates.
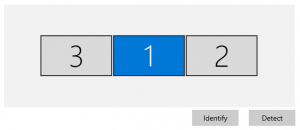
Once your monitors are connected, go to Start > Settings > System > Display to view all your monitor’s settings. At the top of that screen, you will see a menu with a few boxes within it.

The boxes represent the different monitors being used. In this example, our laptop is screen 1, and screens 2 and 3 are the additional monitors connected to the laptop. If you aren’t sure which monitor is which, you can always click Identify, and a number will appear showing you which display is which.

You can click and drag the screens to arrange them however you like. For example, you can stack the screens on top of each other or sit them side by side like our example shows.
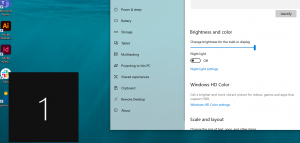
If you want to adjust the settings of one of the monitors, then on the top window, click the box of the monitor you wish to modify, turning it blue. Then, when you scroll down, you’ll be able to adjust the settings for that particular monitor, such as changing the scale, resolution or even turning it from Landscape to Portrait orientation.
For more weekly Tech Tips, subscribe to our newsletter and be the first one to hear about them. If you’ve been struggling with setting up your technology and workspaces the way you want to run an efficient operation, then contact CTTS today!
