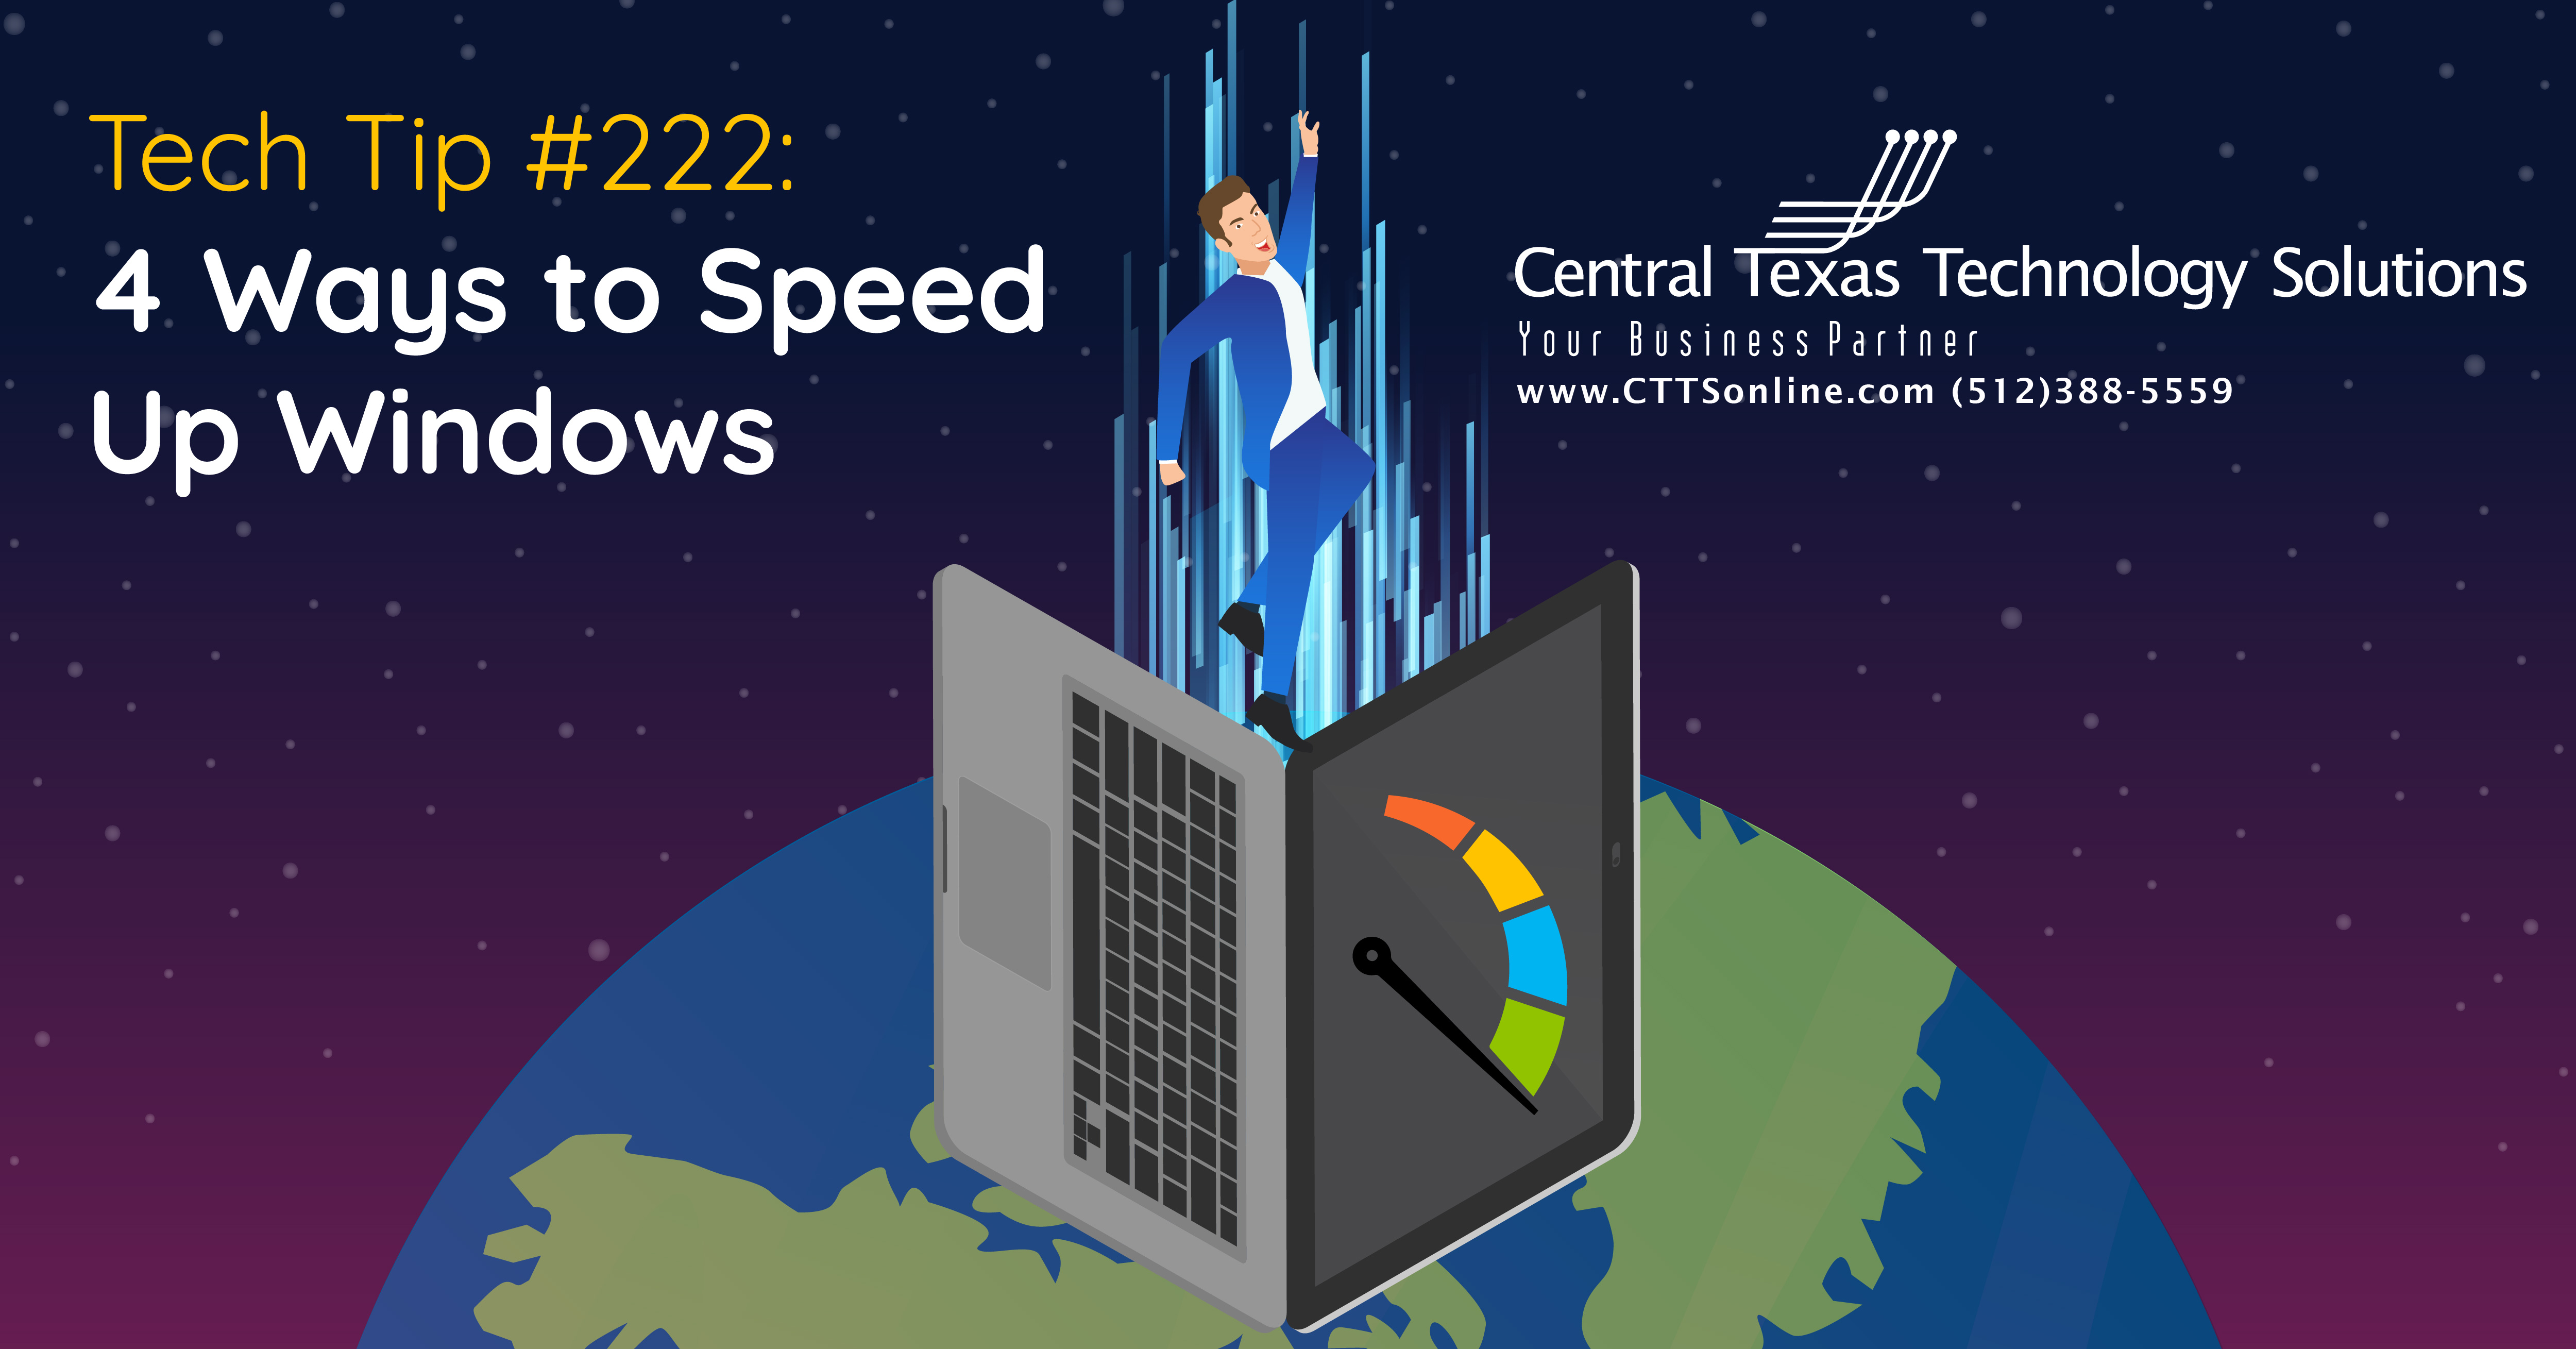
 Are you trying to work but your computer is not allowing it?
Do you need to wait twenty minutes after you login before you can start working?
Do you get that good old spinning wheel of death every time you click on something?
Here are 4 steps to help speed up your system before needing to call the professionals that could require you to give up your system for a few days while they troubleshoot.
These troubleshooting steps are specific to Windows computers only.
- Reboot your system!
First and foremost, restart your system. This will force any unwanted and unknown background programs to stop. This will also logout any other users, if any, that may have a million and a half programs running in their profile. Rebooting your system is not only something you should do when you are having issue, but it is healthy for your computer to get a clean slate every so often. It is recommended to restart your system at least once a week, so it gets a fresh start from all the hard work it does for you during the week. Just like as we humans need a ‘reboot’ occasionally, the same applies for our computers. - Check for any unwanted startup apps.
Once you have completed the reboot and are able to log in, do you notice that it takes forever to respond? This is usually due to all the applications starting up in the background when you turn on your system. These are referred to as Startup Apps. Upon installation, many applications have a configured setting that automatically makes them start when you login to your machine. When your computer has to start all of these applications in the background at once, this slows your entire system down immensely, and you may not even intend to use these applications. In order to check for and stop these applications at startup, perform the following steps:- Hit the Windows
 button, begin typing ‘Startup Apps’, you will see an option for Startup Apps in the System Settings, click on it.
 - In Startup Apps you will see a list of applications that start every time you start up or login to your system. You can go through those applications and toggle off the ones you no longer want to start automatically.
- I strongly recommend only toggling off applications that you are familiar with, as some applications need to startup and run whenever your system is running. The common applications that slow down your system majorly are Teams, Spotify, iTunes, Skype, etc…By toggling these off, it will not close the application if it is already open, you will have to do that manually, but this will make your system bootup a lot faster next time.
- Hit the Windows
- Uninstall any unnecessary programs.
During the life cycle of a computer, we tend to download and install many programs and applications as we need them. What we do not do, is delete those programs and applications when we are finished with them. These programs use a lot of our computer’s ‘brain power’ causing the system to function slowly. It is good to get into the habit of reviewing these programs and uninstalling the programs that are no longer necessary. A lot of programs are required for your system to run smoothly so be sure to only remove programs you are sure you no longer need. In order to see and uninstall all the programs on your system, perform the following steps:- Hit the Windows button, begin typing ‘Control Panel’, you will see the ‘Control Panel’ app, click on it.
- Select ‘Programs and Features’. This will bring up a long list of programs that your system currently has installed.
- Scroll through that list and click on any programs you no longer need and hit the ‘Uninstall’ button on top. You will have to do each program separately, and It can take a few minutes per program as it is uninstalling and deleting all the files associated with it. Just like the startup apps, DO NOT UNINSTALL ANY PROGRAMS YOU ARE NOT FAMILIAR WITH.
- Hit the Windows
- Check for Updates.
Lastly, sometimes the cause of computer slowness is due to old or incompatible updates and drivers. It is important that your system and programs are always up to date in order to function smoothly. Most of the time, especially if your computer is managed by an MSP, these updates are automatically managed and maintained by the organization, but it still does not hurt to check. In order to check for updates, perform the following steps:- Hit the Windows button, begin typing ‘Check for updates’, click on it.
- You will see the last time your computer has checked for updates and you can click the ‘Check for updates’ This will begin the process of checking for updates to download and install.
- This might take a while, so be sure your system is plugged in and connected to the internet for them to install successfully. This will install any Windows updates that are available.
- Hit the Windows
If you have followed all these steps and your system is still holding you back from working sufficiently, do not hesitate to reach out to your favorite MSP Central Texas Technology Solutions, so we can dig a little deeper to get your system back up and running at its fullest capacity. Give myself and the technology experts at CTTS a call now: (512) 388-5559.

Project Technician
Central Texas Technology Solutions